When you look at our technological world, it’s almost impossible to imagine how much time we used to spend manually keeping time. Nowadays, most of us are so reliant on our digital devices that they seem like the only way to keep track of the passage of time. But no matter how convenient or useful a digital watch is — or even how accurate — it’s still not as reliable as a mechanical clock. And if you want to bring your home up-to-date with the latest trends, repairing an old clock is a great place to start. After all, working with older appliances helps you save money and resources while also exposing you to new skills that you can use in other areas of your life. Here we explain everything you need to know about repairing an old clock before diving in and fixing one for yourself. You don’t have to be a clock repair expert to fix a running clock.
There are many different methods that exist when finding the best way to repair all different types of clocks. However, if you find yourself struggling to repair a clock yourself then you can always visit our repair clock shop Tic Toc Clock Repairs where we guarantee that your clock will be professionally fixed with the highest care and standard as we understand the value behind antique clocks. With a combination of excellent customer service and exceptional skills in repair for vintage clocks, we will handle your clock with care, whether its a precious family heirloom or one you bought recently.
Step By Step- How To Repair Your Antique Clock
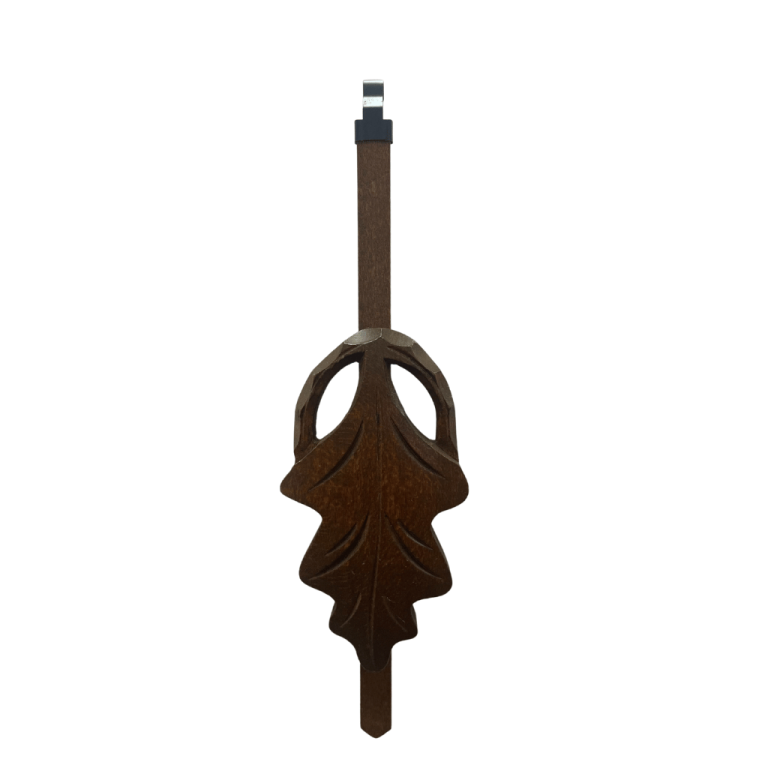
Firstly, start off by removing the pendulum from the back on the inside of the clock case. This will look like a gold medal circle that’s attached to a metal handle that hooks onto the clock movement. After that, you can proceed to open the glass case and remove the two hands from the clock face. You can do this by twisting the threaded collar so that it loosens and can be detached from the clock face.
Next, you need to lay your clock, making sure the clock face is facing downwards on a smooth surface so that it won’t scratch. Something like a clean towel or cloth would be sufficient. Then, begin to remove the screws that secure the inner mechanism to the clock case, preferably using a magnetised screwdriver and carefully pull the movement out of the frame.
Degrease the inner mechanism if necessary by placing the inner mechanism into a bucket of petrol and leave to soak for 2-3 hours. Using a paintbrush, dip it into the petrol and gently clean around the springs and the arbours, leave to dry naturally outside on a cloth or by a window where sunlight can reach.
Then, it is important that you oil the springs by using silicone-based grease or heavy grade engine oil. Using a different paintbrush, distribute a small amount over the top of the springs to lubricate them and using a small oiler that closely resembles a needle, adds one small drop to each of the bearings and pivots located around the inner mechanism. Avoid oiling the clogs.
To finish off, place the inner mechanism back in the case of the clock and press the hour hand back into place. Then proceed to put the minute hand back into place by making sure it is secured and locked on properly. Set the clock to the correct time by gently moving the hands. One thing to avoid is winding the minute hand backwards. However, you can move the hour hand in every direction.
To finish off, attach the pendulum and adjust the speed to either go slower or faster by turning the small lever towards ‘S’ meaning slow and ‘F’ meaning fast. The longer the pendulum is, the slower the clock will run and the shorter the pendulum is, the faster the clock will naturally run.
Credited to: https://tictocclockrepairs.co.uk/


